
AA: RPA Comes in Various Shapes, Sizes and Customizable Forms(Part-I)

RPA is composed of scripts bundled up into click and drag automation blocks with which we can develop automations in less time than it would take a Python or JavaScript developer to develop, which is why it has captured the market like wildfire.
Automation is automation, but because its automation, people aren’t too comfortable working besides them.
Don’t get me wrong, people love automation, much like how they love keeping a watchdog to guard their house from intruders.
They just don’t want to interact with it too much, fearing that it might bite back, and besides, you have a watchdog don’t you?
Why would I want to work besides man’s best friends? I thought I was only supposed to feed and pet him.

Ok I’m sorry!
Don’t Touch the System, an Automation is Running!
When we automate stuff, people want everything in that “stuff” to be automated. The problem with this mentality, is that most of the work you perform each day does require a bit of that Human Intelligence which our bots currently lack.
If you are only familiar with bots that fetch reports from SAP, consolidate and send it across to stakeholders at 6 A.M. each day, with you only having to schedule it from time to time, then you will actively look for opportunities which require little to no human intervention because that’s how RPA works…or that’s how you’ve seen RPA work until now.
This reduces the number of opportunities available and your ROI will suffer. Sure, there are plenty mindlessly repetitive tasks to target, but the real gems are hidden in those processes which require your (yes you) involvement.
Many are under the assumption that the only way to upgrade RPA would be to add some ML/AI to the mix. This would enable the bots to mimic some Human Intelligence, but think about it for a moment.
Do we really have to drag Data Science into everything?
Or should we rely on some of that Human Intelligence to figure out another approach?

Stop Foreshadowing and Spit it Out Already.
Introducing Interactive Forms!
They allow you (yes, you again) to provide inputs for the bot to work with.
This changes everything, as you and the automation are no longer isolated from each other.
You get to connect and work together as a team.
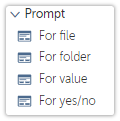
Oh, You Mean Like Prompt?
Prompt is nowhere near as customizable as an interactive form is.
Concepts like these are better explained through images since a picture’s worth a thousand words and memes are worth a thousand more.
Let’s look at some examples now shall we?
Creating Your First Interactive Form
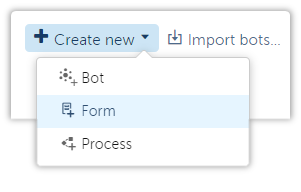
Head over to Automations and click on Form under Create new.
As you’ve probably noticed, Forms aren’t created in the same environment where you create Taskbots – it has a separate dressing room.
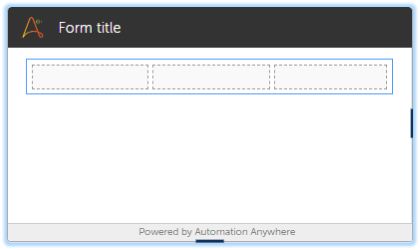
When you create a form, the editor provides us with a basic template consisting of a single column with two sections.
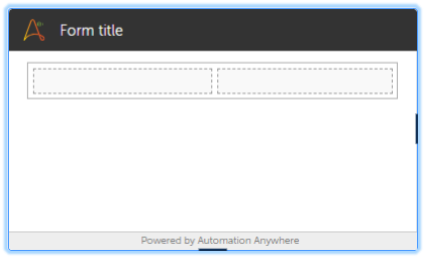

Just like in your Taskbot editor, you can click and drag elements into the workspace.


While the Taskbot editor contains Automation Blocks, the Form editor contains UI Blocks. These aren’t its official terms by the way – I just decided to call them that for no particular reason.

Customization Tips for Beginners
I remember getting stuck at some incredibly basic steps like adding new sections and arranging elements.
Let me save you from the frustration of having to go through that.
As mentioned earlier, the editor provides you with a template consisting of a single column with two sections.
You can add or delete columns/sections like so:


OH NWOES! I Deleted the Column!
No problem, you can always add it back.
Simply drag in a Column Element present under Layout.

As much as I hate to admit it, I spent way too much time trying to figure this out. It was right there in front of me, but I got distracted like I always do.
Adding More Sections
This can either be done by adding another Column Layout Element, or by clicking on the boundary of an existing Column Layout and adding a section from the Properties Panel.


Oh, there seems to be a problem. The newly added section is not of the same length as the others.

This isn’t something to lose your mind over (even though I did), just head over to the properties panel and click on the “Make column width equal” button.
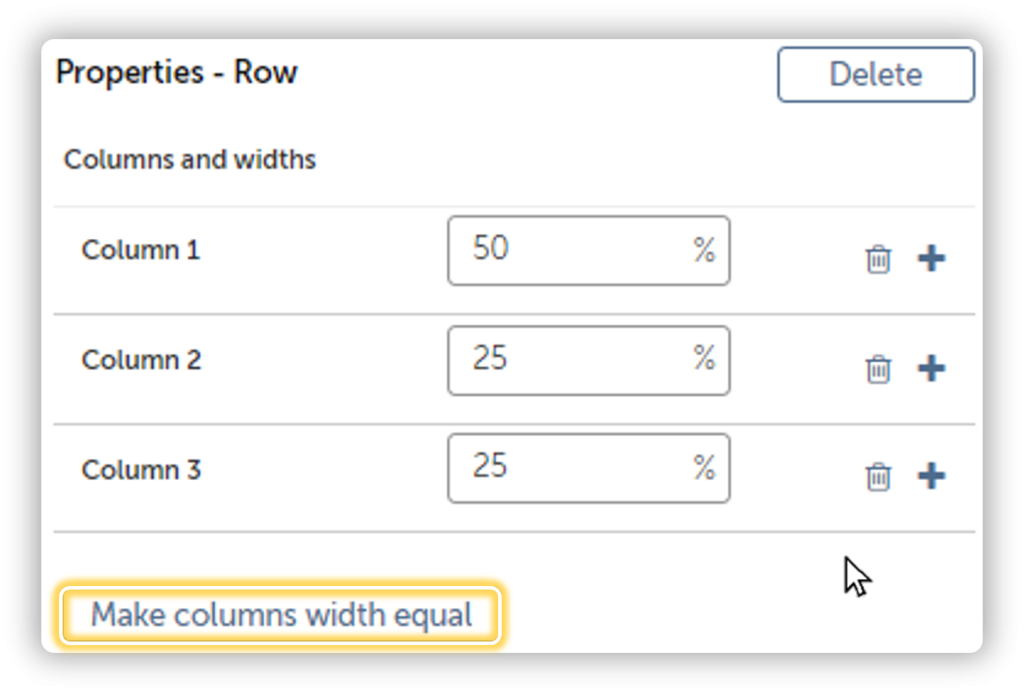
And with that, we have sections of equal sizes.

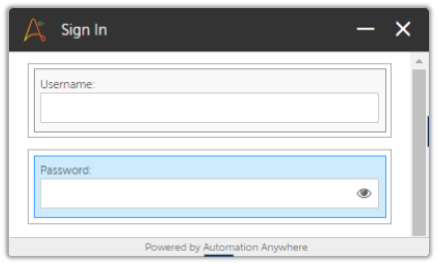
Simple Sign In Page
Time to become a little creative by creating a simple Login form.
Think about it, we need two fields – one for the username and the other for the password, along with two buttons.
The first button is to submit the form, and we also need another in case the user wishes to exit the form.
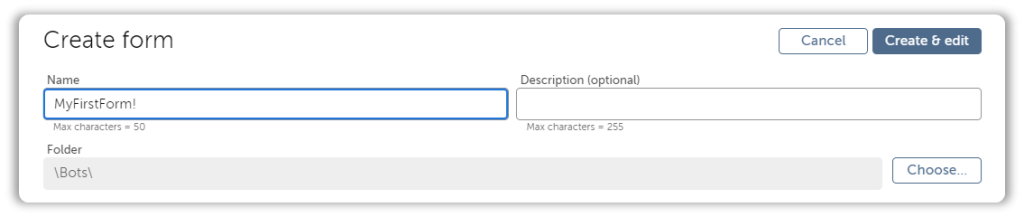
But lets first customize the base template by giving it a name and enabling few options.

Don’t pay too much attention to the fields highlighted in green, we can worry about the dimensions once we have added all the necessary elements. You will waste time resizing the template as you go on adding and substracting elements.
Next comes the two fields which will accept the credentials.
You might have noticed that there is a Textbox Element, but I will only use the Textbox Element for the username, and use a Password Element for the password.
The output of a Password Element is a secure string, which is why I’ve decided to go for that.
Next comes our two buttons, now you can drag in a Column Layout and them add the buttons there, or you can simply drag in a Button Element and then add a section and add the other one.


Now we just have to do a bit of polishing and voila!

Visual Overload
Sure, people love visuals, but the service responsible for loading my page isn’t too fond of it.
There is a lot to dig in here, so I’ve decided to create a series out of this topic. Also, the forms you create have to be is triggered by a Taskbot much in the same way your IQ Bots are.
We will explore Form Rules next week, and how forms are Triggered in the week after that.